
Homarr is a lightweight, open-source, browser-based dashboard designed to centralize and manage self-hosted applications, services, and bookmarks in one place. It features a drag-and-drop interface, over 30 integrations (e.g., Plex, Docker), real-time status monitoring, and user authentication, making it popular for managing homelabs.
Today I will go through how to install it on my home nas “ugreen” docker.
Hardware Prerequisites
At least 500MB RAM
At least 600MB of free disk space for the Docker image. SSD is preferred.
Single or dual core CPU
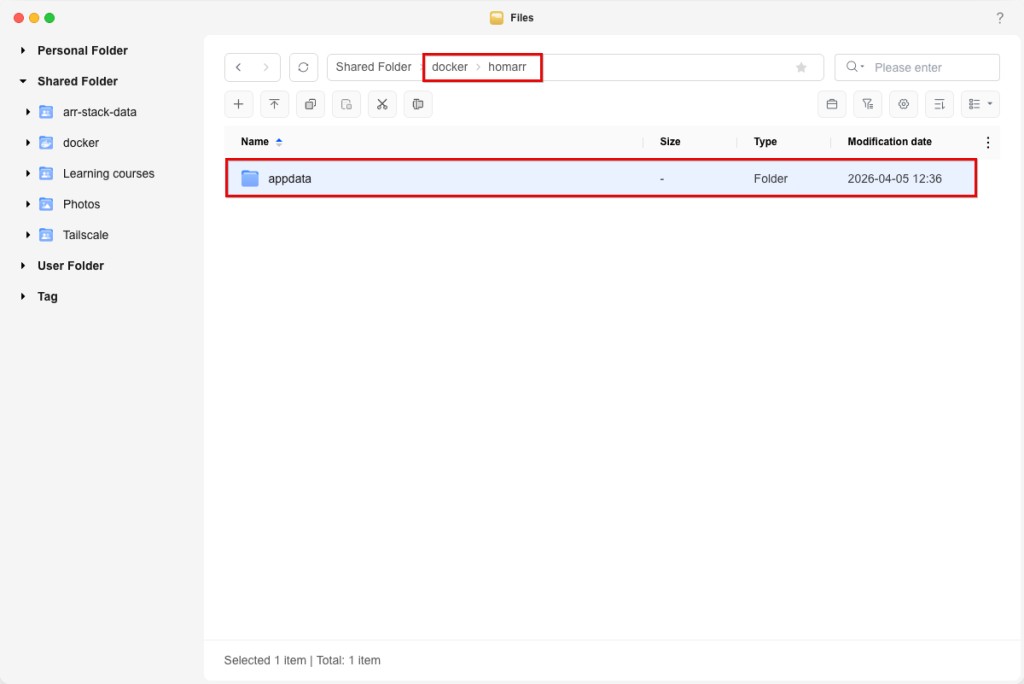
1. Create homarr folder
Navigate to shared folder > docker. create homarr folder and create appdata as subfolder.
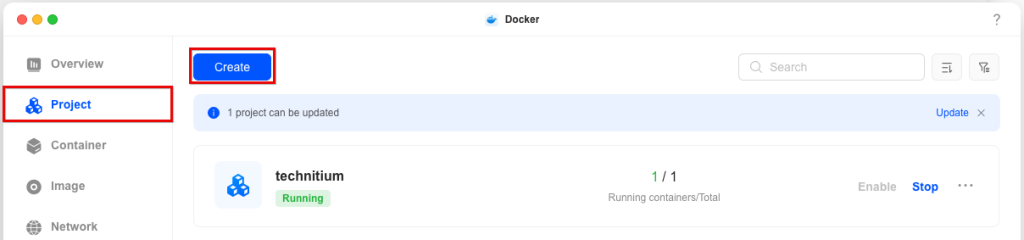
2. Create docker compose
Open Docker App, Navigate to Project and click on Create
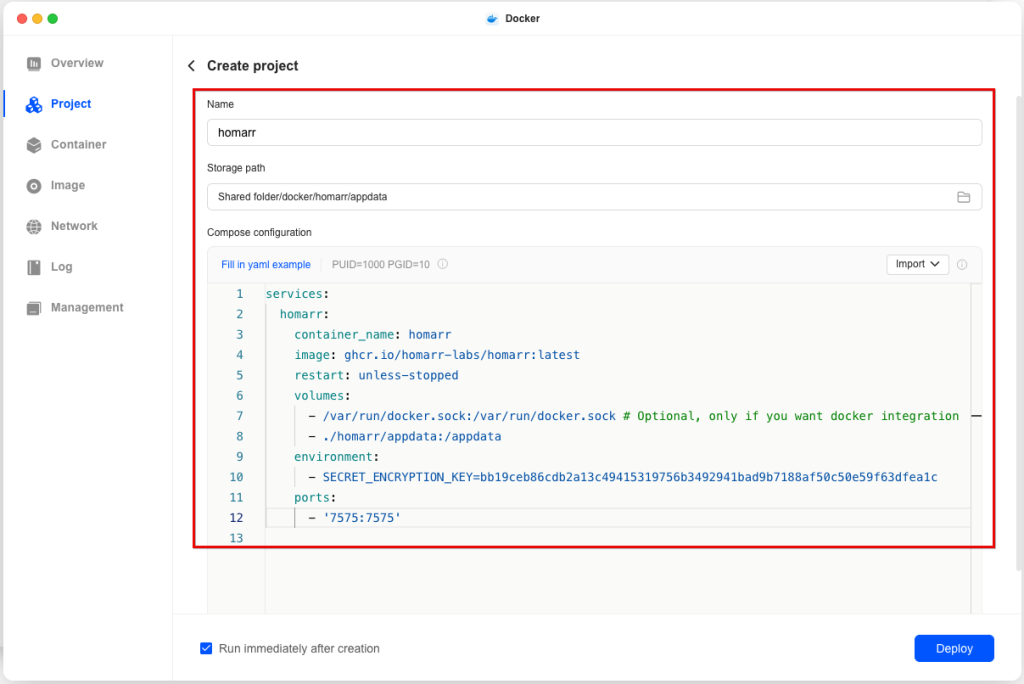
Configure your project name, select storage path “Shared folder/docker/homarr/appdata” and paste docker compose configuration. Note: docker compose configuration can be found at https://homarr.dev/docs/getting-started/installation/docker
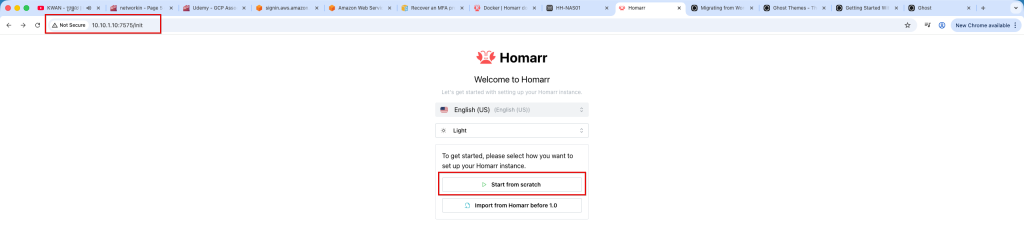
Click Deploy to deploy cotainer. once cotainer deployer. open browser and navigate to https://server-ip:7575 and click on Start from scratch if it is your first installation. Optionally you are able to import from your old homarr server by clicking on Import from Homarr
Configure Admin username and password

Once admin user configured. on Sever setting, you have option to opt out crawling and indexing. Click on Continue to configure server setting. I prefer to opt-out everything because it will be used for my home server only.

Installation completed.